Using the Storyvine Mobile App


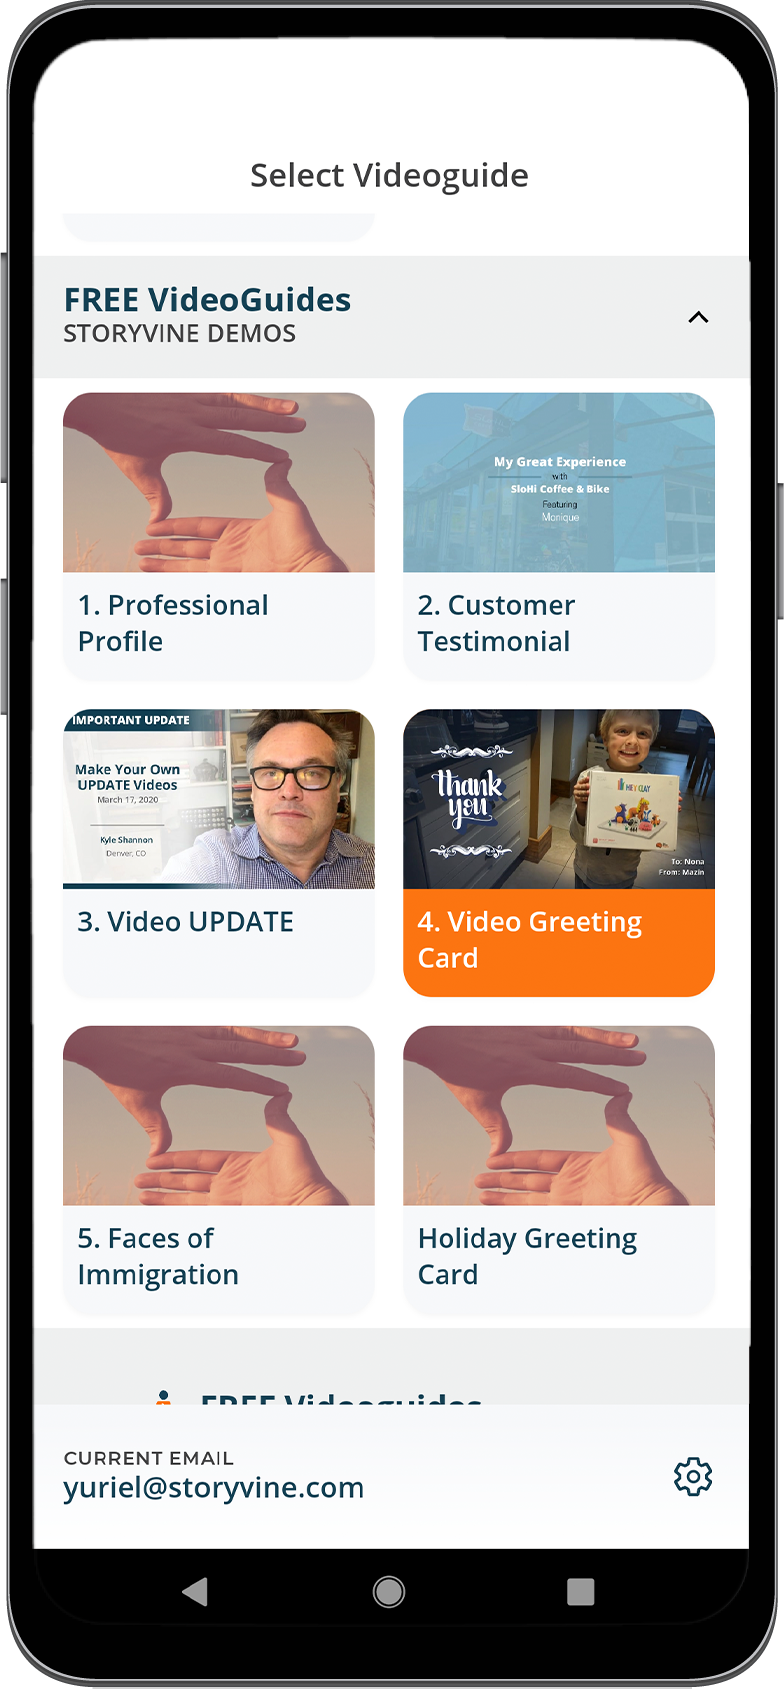
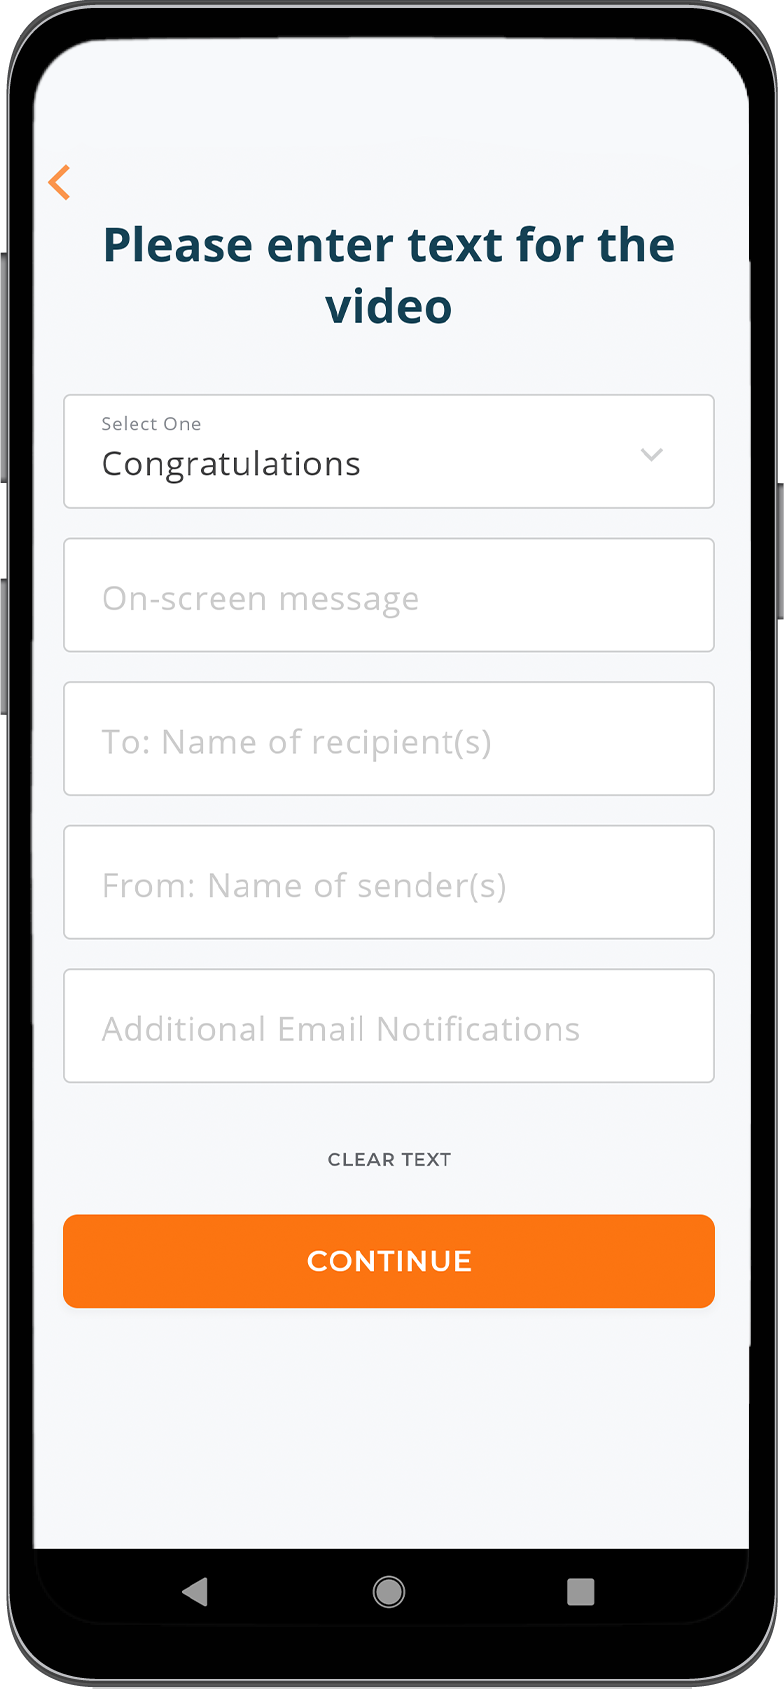
Getting started: Sign in and pick your template

Taking a picture or filming video
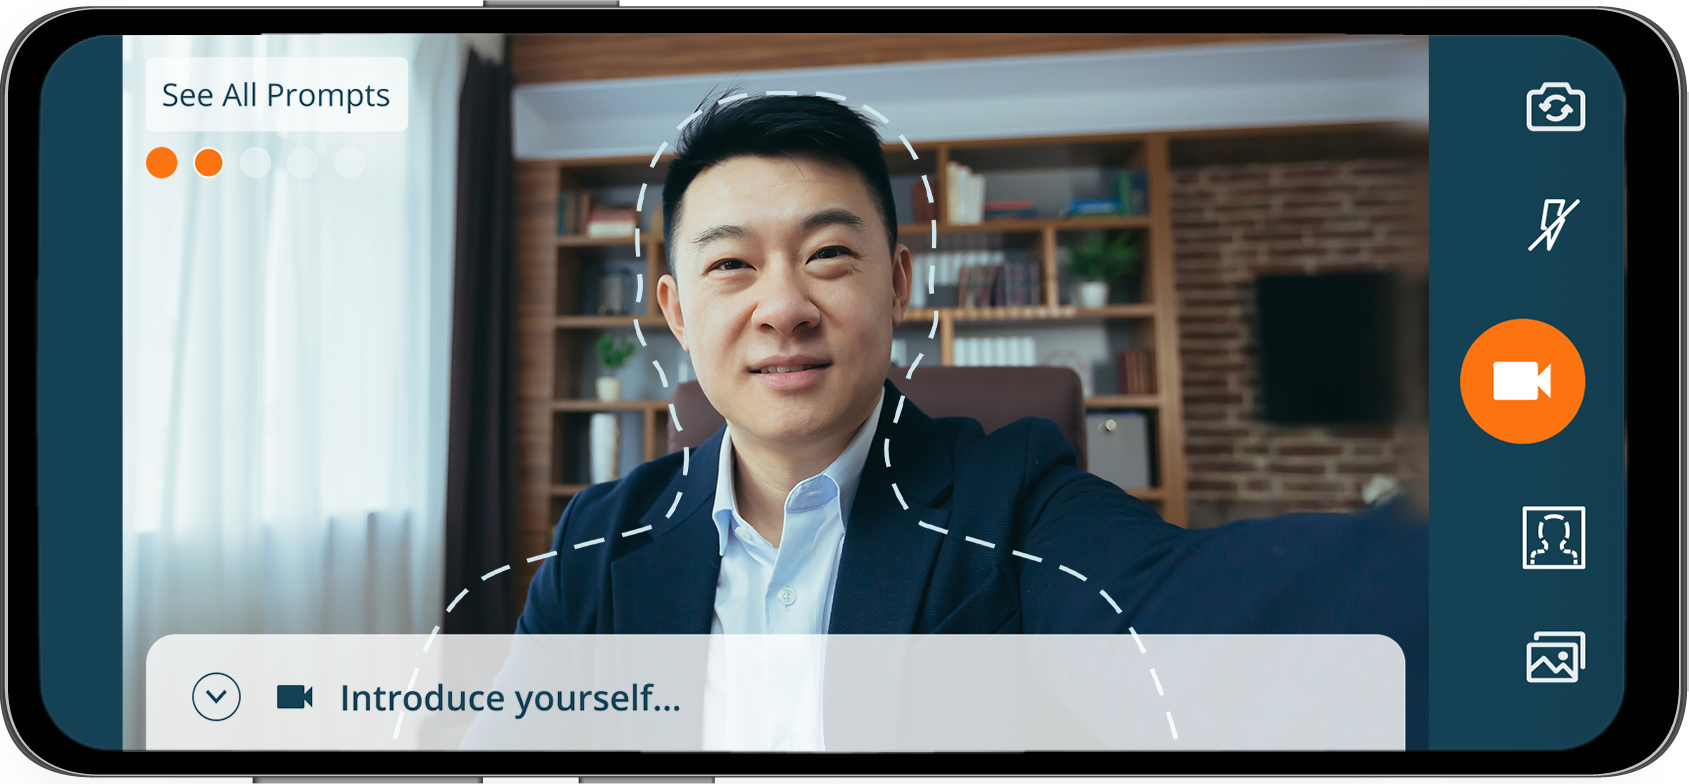
Once you've selected your template, simply follow the on-screen coaching instructions to either take a picture or film a video clip. Each coaching instruction includes suggestions about what you should talk about in the video clip, what a key points to consider, and how long you should film a video. Once you are done with an individual segment, you'll be automatically taken to the next one!

Important Note: Storyvine's app provides a simple and easy partner to help guide you through capturing the best content possible. Gary as we call him is the on-screen dotted line that shows you where to place either yourself or someone else when filming. Gary can take many forms, although most of the time you will see him as a single person outline. Try to keep your head within the outline to get the best results for video capture.
Important Note: Important Note: If you are filming yourself, make sure to use our friendly outline on-screen. This helps make sure the video is properly captured for the final copy!

Verifying your Pictures or Filmed Video
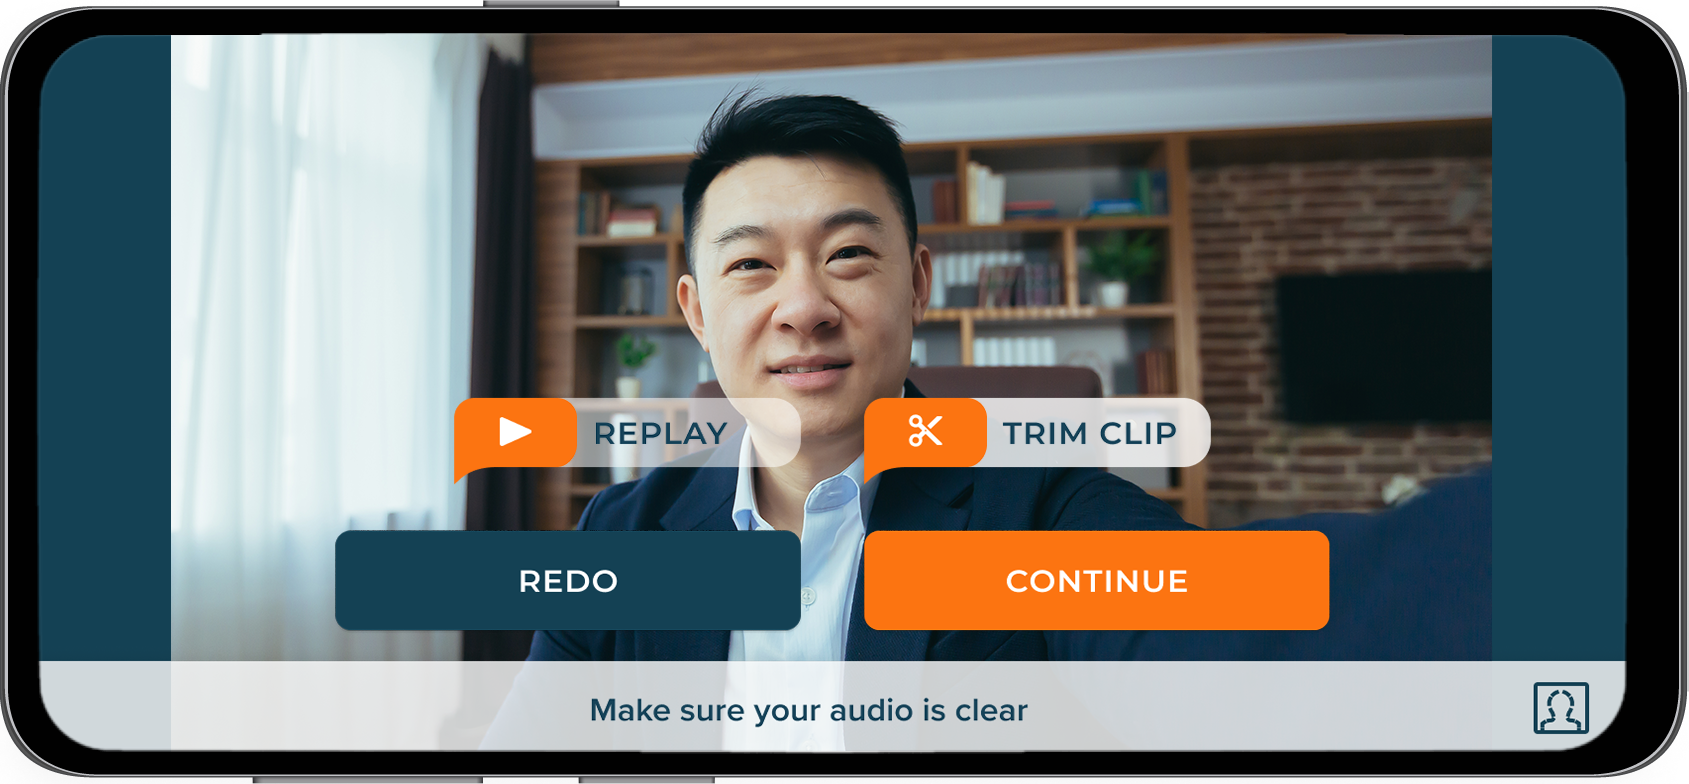
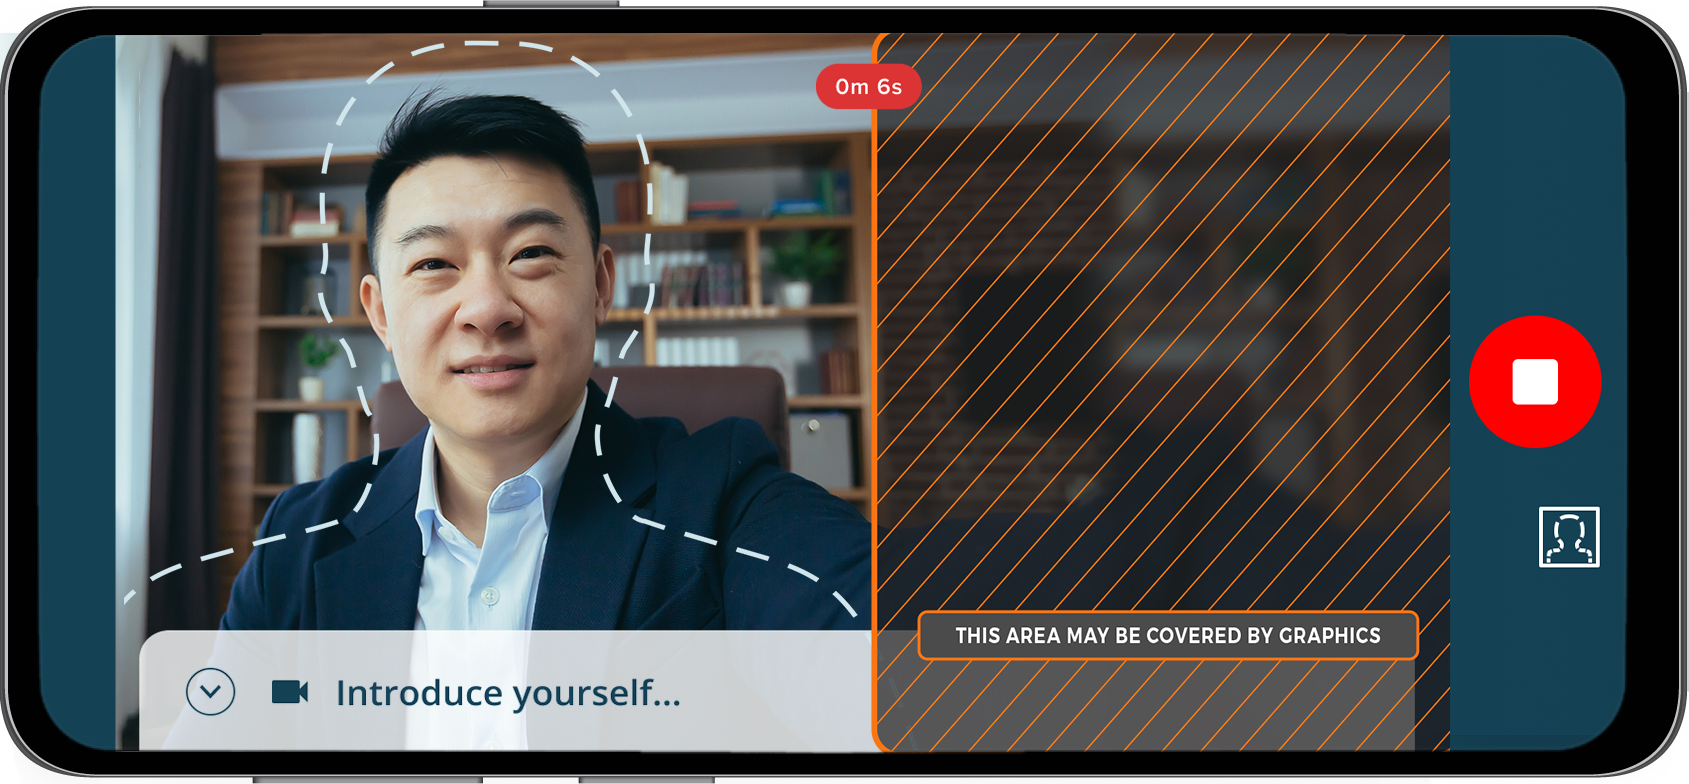
Once you've filmed a video segment or taken a picture, you review it and redo, if necessary. You can re-take a picture, re-film the video, and there's some quick and easy pointers on screen, so make sure to check out what you've captured before moving onto the next step.

Uploading your Video to Storyvine
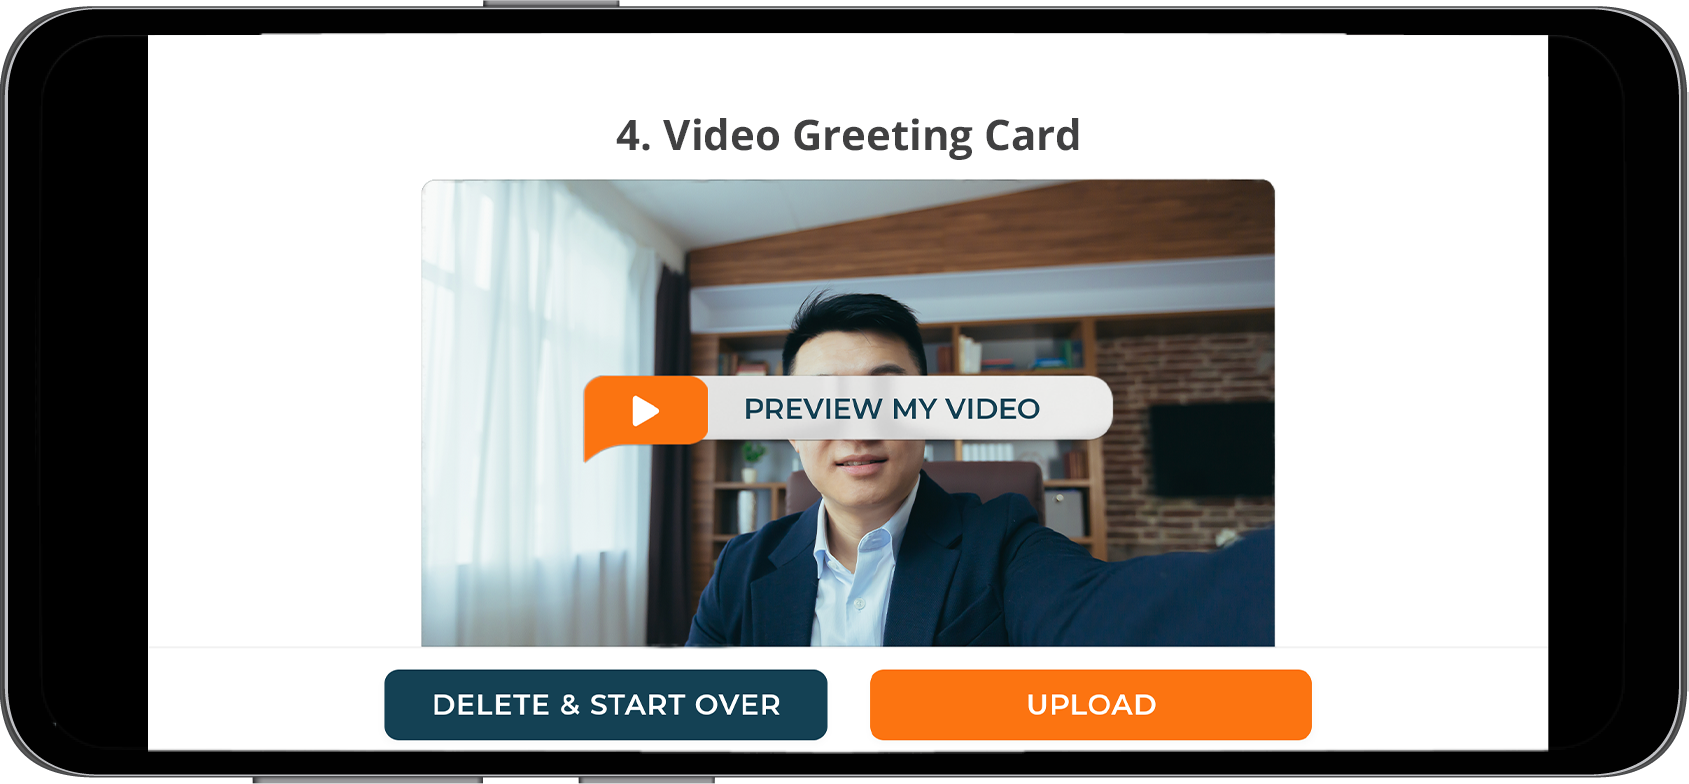
After you've completed all the capture steps for your video, you can select upload. Selecting upload will automatically send the right videos and information to Storyvine, and you'll receive an email in minutes with a link to your video!
Accessing the Storyvine Menu
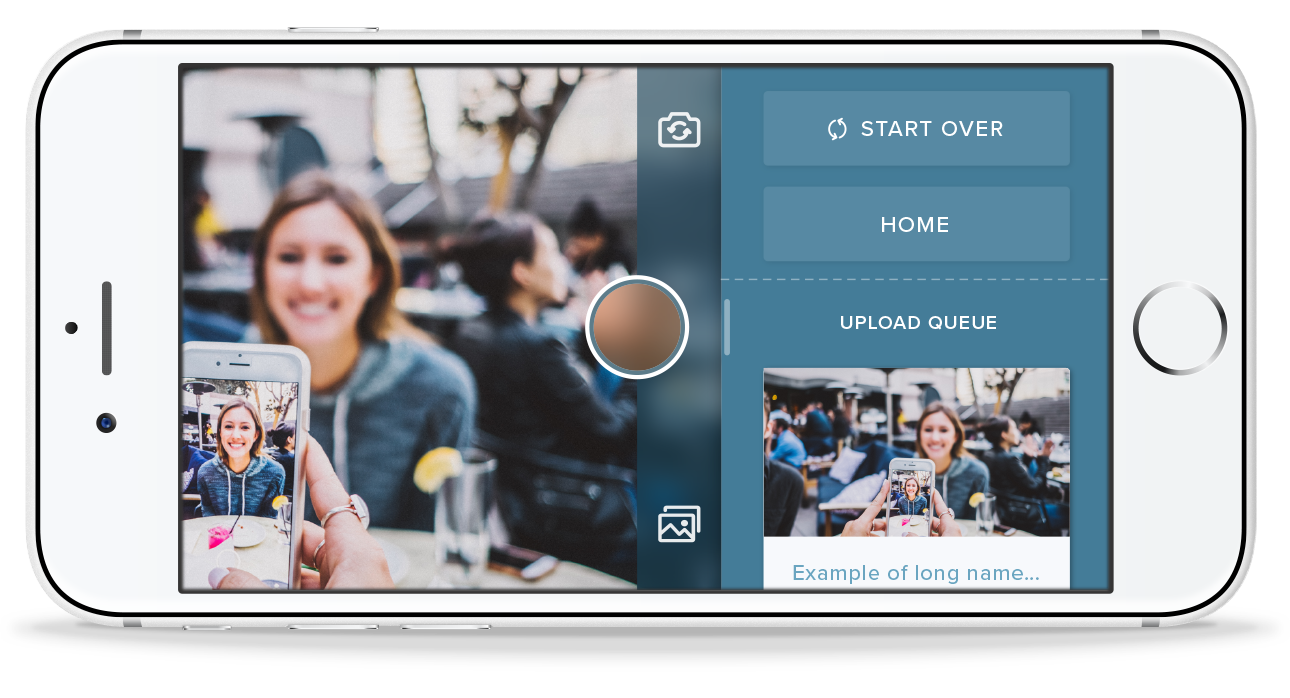
At any time in the Storyvine app you need to start over with the video you have been capturing or need to go back to the home screen, you can swipe your finger from the right to the left and the menu is shown.
Pro video tips: Look more professional when the camera goes on.


Capturing the Best Video and Pictures
When filming or taking a picture, you can take advantage of the devices Tap-to Focus feature. Tapping on a specific section of camera view focuses and automatically and can help when capturing content in low-light or bright scenarios.
If you are filming someone else, it's great to communicate openly about when to start, when you've stopped and even show them what was captured before moving onto the next step.
Use Tripods & LED Lights to Improve Video Quality
Using simple products such as selfie sticks, and tripod mounts will help keep the camera stable. Using these battery-powered LED lights will help fill in shadows, and even light things up in dark situations.
Small LED Light Medium LED Light
Choosing a Good Background

Try to use interesting backgrounds, and avoid just standing in front of a blank wall.

If possible, avoid filming in direct sunlight outside or in a low-light room, this causes your subject to either be washed out, too dark, or even hard to watch.



Using external lights can be quite useful for offices or rooms that perhaps may be a bit too dark for a mobile devices camera. But be careful! Placing the lights too close can wash out a persons face when being filmed! When possible, avoid placing lights behind the person being filmed, as this just create a sillhoutte effect.

Getting the Best Audio for your Videos

If you are filming yourself or having someone film you, it's best to find a quiet environment with little to no background noise. You can usually obtain great audio without the need for any additional microphones in a closed room.

If you are in a room with an echo, it can cause issues with filming. This can especially occur in rooms with no carpeted flooring. If you capture content in a closed room, it's great to have carpet or a rug as it helps capture some of the echo and background noise.


Get Rid of Background Noise
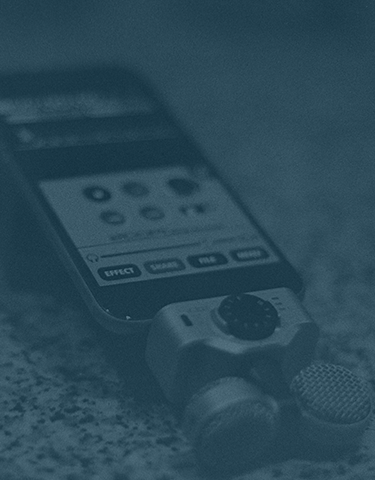
If you are recording in noisy environments, like a crowded event, using these directional microphones will isolate the sound of the person talking and reduce distracting background noise.
Larger Mic Smart Phone Mic
Uploading Videos
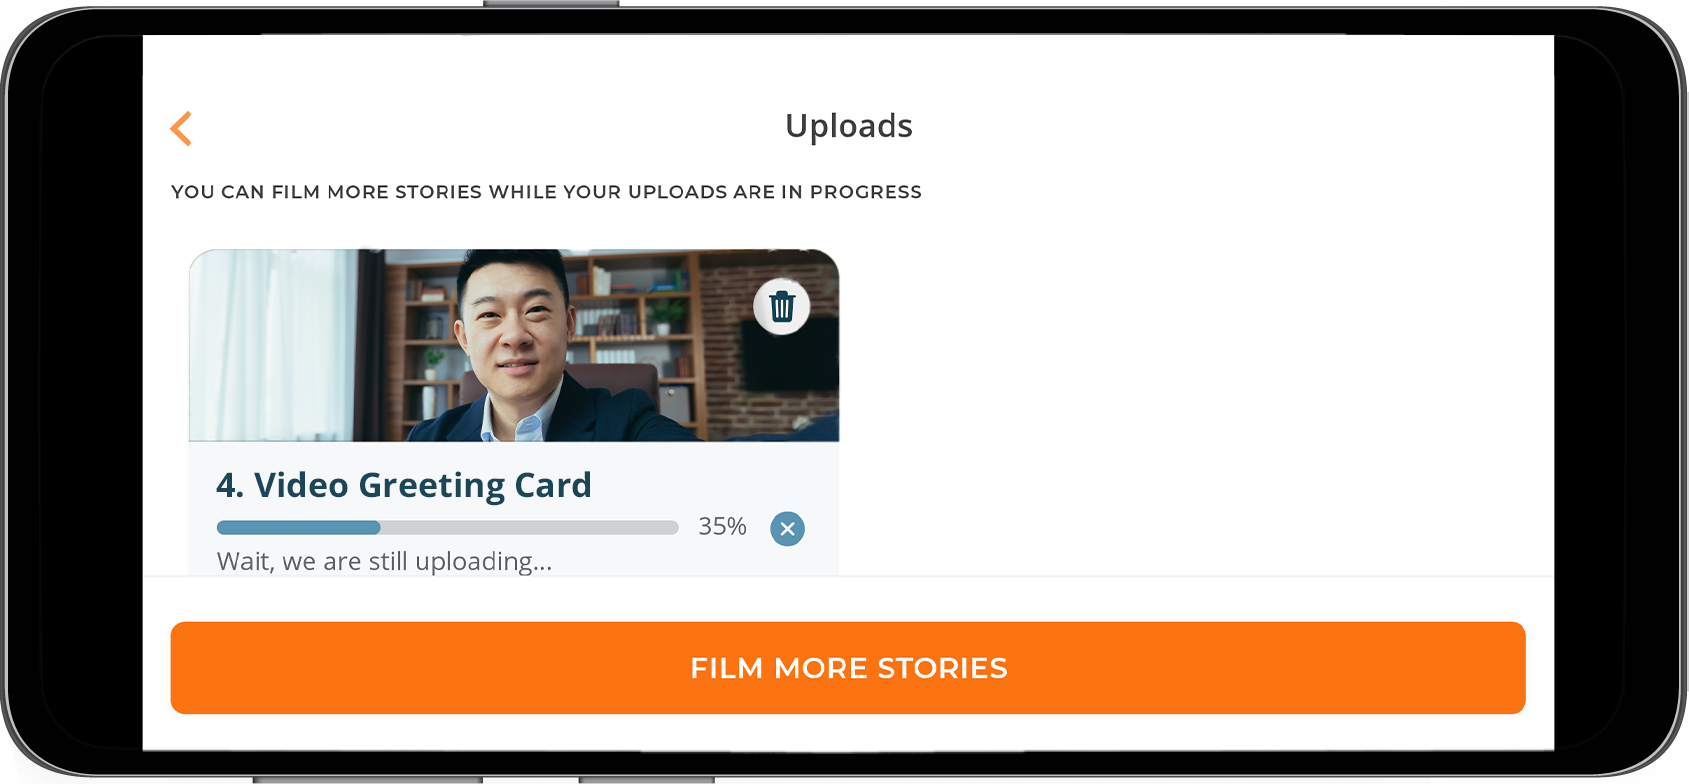
If you experience issues with uploading your video be sure to check that you are on a fast Wi-Fi or LTE connection. While most of the videos filmed with Storyvine are short, video is a large file to send across the internet, so using a private Wi-Fi or more than one or two bars of LTE will improve your results.
 <
<
You can always check the status of the upload once you've completed capturing a Storyvine video, by swiping from the right to the left in the app and viewing upload queue.

